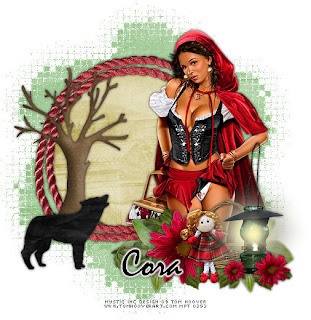
This tutorial was written for those that have a working knowledge of PSP (I use Version 9).
Artwork by Tom Hoover and you can find him at MPT. Please make sure that you have the appropriate My PSP Tubes artist license to use the same tube as I do.
Supplies Needed:
Tube or image of choice
Scrapkit: "Red Riding Hood" by Cora's Creations and can be purchased here.
Mask(s): Vix Mask 371, you can find it here.
Font(s): Mistral
Here we go!
Open a new image, 600x600 (we can resize later), flood fill with paper 3.
Open frame 1 - Copy, paste as a new layer, resize if necessary, and flip.
Open paper 6 - Select inside of frame with magic wand, expand by 5, add new layer, floodfill with paper 6, select none, move underneath frame layer. I duplicated this layer and used the adjust hue and saturation to make it a little more brown.
Open tube or image of choice - Copy, paste tube as new layer, make any resizing now.
Open assortment of elements - Copy, paste each as a new layer, resizing and rotating to your liking. The tree I duplicated, then changed the top layer to multiply.
At this point, I usually resize if I need a smaller image. I also save both the original size and the smaller size images.
Add a new vector layer for your name - (I floodfilled mine with black) To make it stand out, use could use either Eye Candy or duplicate the layer, convert bottom layer to raster, select all, use magic wand to select text, expand by 2, floodfill with white.
Go back through to sharpen and add a drop shadow to your layers.
Add your copyright as the finishing touch.
Save your tag in your favorite format and you are done!!
This tutorial was written by Debbie (Mystic Inc Design), 2009. Any resemblance to any other tutorial is purely coincidental and not intended.


0 Scribbles:
Post a Comment