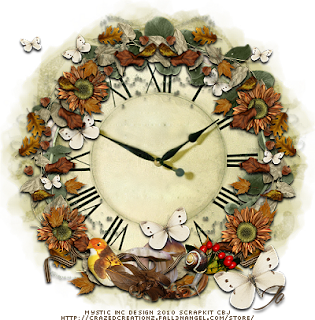
This tutorial was written for those that have a working knowledge of PSP (I use
Version 9).
Supplies Needed:
Scrap Kit: "Glow of Autumn" by Creationz by Jo and can be found here.
Mask: Weescotslass 219 which can be found here.
Font(s): Cherish
Here we go!
Open new image, 500x500, floodfill background with white.
Open leaf frame, copy and paste as a new layer, resize to your liking.
Copy and paste plant, resize to fit on top of leaf frame, mirror image.
Copy and paste glitter swirl leaves, resize, copy and paste while rotating around frame.
Copy and paste individual leaves around to fill in any blank spaces, make sure you alternate layers.
Copy and paste clock, resize to fit into frame, move to bottom
Copy and paste butterflies, resize, I selected the top two butterflies and copy and pasted to other parts of the frame also.
Copy and paste a bird and a snail and any other accessories that you would like to add. Make sure you resize and rotate as you go, alternating layers.
Copy and paste paper 19, move down to bottom layer, apply mask WSL219.
At this point, I usually resize if I need a smaller image. I also save both the original size and the smaller size images.
Add a new vector layer for your name,I used #533c25, convert to raster layer. To make it stand out, use could use either Eye Candy Gradient Glow or duplicate the layer, convert bottom layer to raster, select all, use magic wand to select text, expand by 2, floodfill with colour choice.
Go back through to sharpen and add a drop shadow to your layers.
Add your copyright as the finishing touch.
Save your tag in your favorite format and you are done!!
This tutorial was written by Debbie (Mystic Inc Design), 2010. Any resemblance
to any other tutorial is purely coincidental and not intended.


0 Scribbles:
Post a Comment