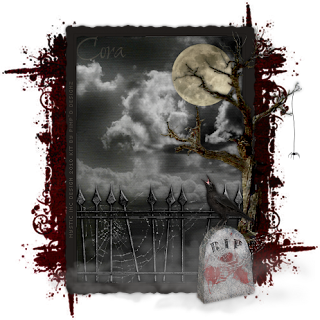
This tutorial was written for those that have a working knowledge of PSP (I use Version 9).
All images used are included in the kit.
Supplies Needed:
Tube or image of choice
Scrap Kit: "If I Was Your Vampire" by Pimp'd Designz and can be purchased here.
Mask(s): Vix 405 and you can find that here.
Font(s): Shalimar ROB
Here we go!
Open a new image, 500x500 (we can resize later).
Open frame 04 and paper 5 - Copy, paste as a new layer, resize to your liking. Use magic wand and select inside frame, add a new layer, modify by 4, flood fill with paper 5 (I resized it).
Copy and paste paper 01 as a new layer, move to bottom, apply mask, duplicate, change blend mode to multiply.
Open assortment of elements - Copy, paste each as a new layer, resizing and rotating to your liking. For a spooky look, you may need to change opacity on certain things like the blood or the spider webs.
At this point, I usually resize if I need a smaller image. I also save both the original size and the smaller size images.
Add a new vector layer for your name - Floodfill with paper 03, lower opacity to 30.
Go back through to sharpen and add a drop shadow to your layers.
Add your copyright as the finishing touch.
Save your tag in your favorite format and you are done!!
This tutorial was written by Debbie (Mystic Inc Design), 2010. Any resemblance to any other tutorial is purely coincidental and not intended.


0 Scribbles:
Post a Comment