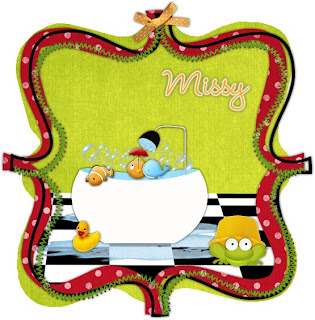
This tutorial was written for those that have a working knowledge of PSP (I use Version 9).
Supplies Needed:
Tube of choice (I didn't use one for this tag)
Scrapkit: "Bathtime Toys" by "Missy Lynn Scraps" and can be purchased from here.
Plugin(s): Alien Skin Eye Candy - Gradient Glow (optional)
Font(s): Wendy Medium
Here we go!
Open a new image, 600x600 (we can resize later), flood fill with white.
Open frame2 - Copy, paste as a new layer, resize to your liking.
Open paper1 - Click inside the frame using the magic wand, expand by 40, add a new layer, floodfill with paper1, move underneath frame2 layer.
Open floor - Copy, paste as a new layer, resize if necessary. I did not, I just used the eraser tool to erase what hung out from underneath the frame.
Open whatever elements you would like to use - Copy, paste as new layers, resizing to your liking.
At this point, I usually resize if I need a smaller image. I also save both the original size and the smaller size images.
Add a new vector layer for your name - I floodfilled mine with paper3.
There are two ways to put the white around the text:
Old fashioned way: Duplicate layer, convert to raster, select all, use magic wand to select text, enlarge by 2, floodfill with white, move underneath text layer.
With Gradient Glow - I still duplicate the layer so I have the original if I want to change the name on it, convert to raster layer, effects, gradient glow, I use the settings: outside glow checked, mask selection checked, 5, 25, 100, 0, 100, 100, white, random seed 1, close off original text layer.
Go back through to sharpen and add a drop shadow to each of your layers that need it.
Add your copyright as the finishing touch.
Save your tag in your favorite format and you are done!!
This tutorial was written by Debbie (Mystic Inc Design), 2009. Any resemblance to any other tutorial is purely coincidental and not intended.


0 Scribbles:
Post a Comment